

Manage photos
Upload photos, write alt text, and reuse a photo across the menu.
The website's photos live in Media. Upload a photo once, then use it on any item, item group, or category.
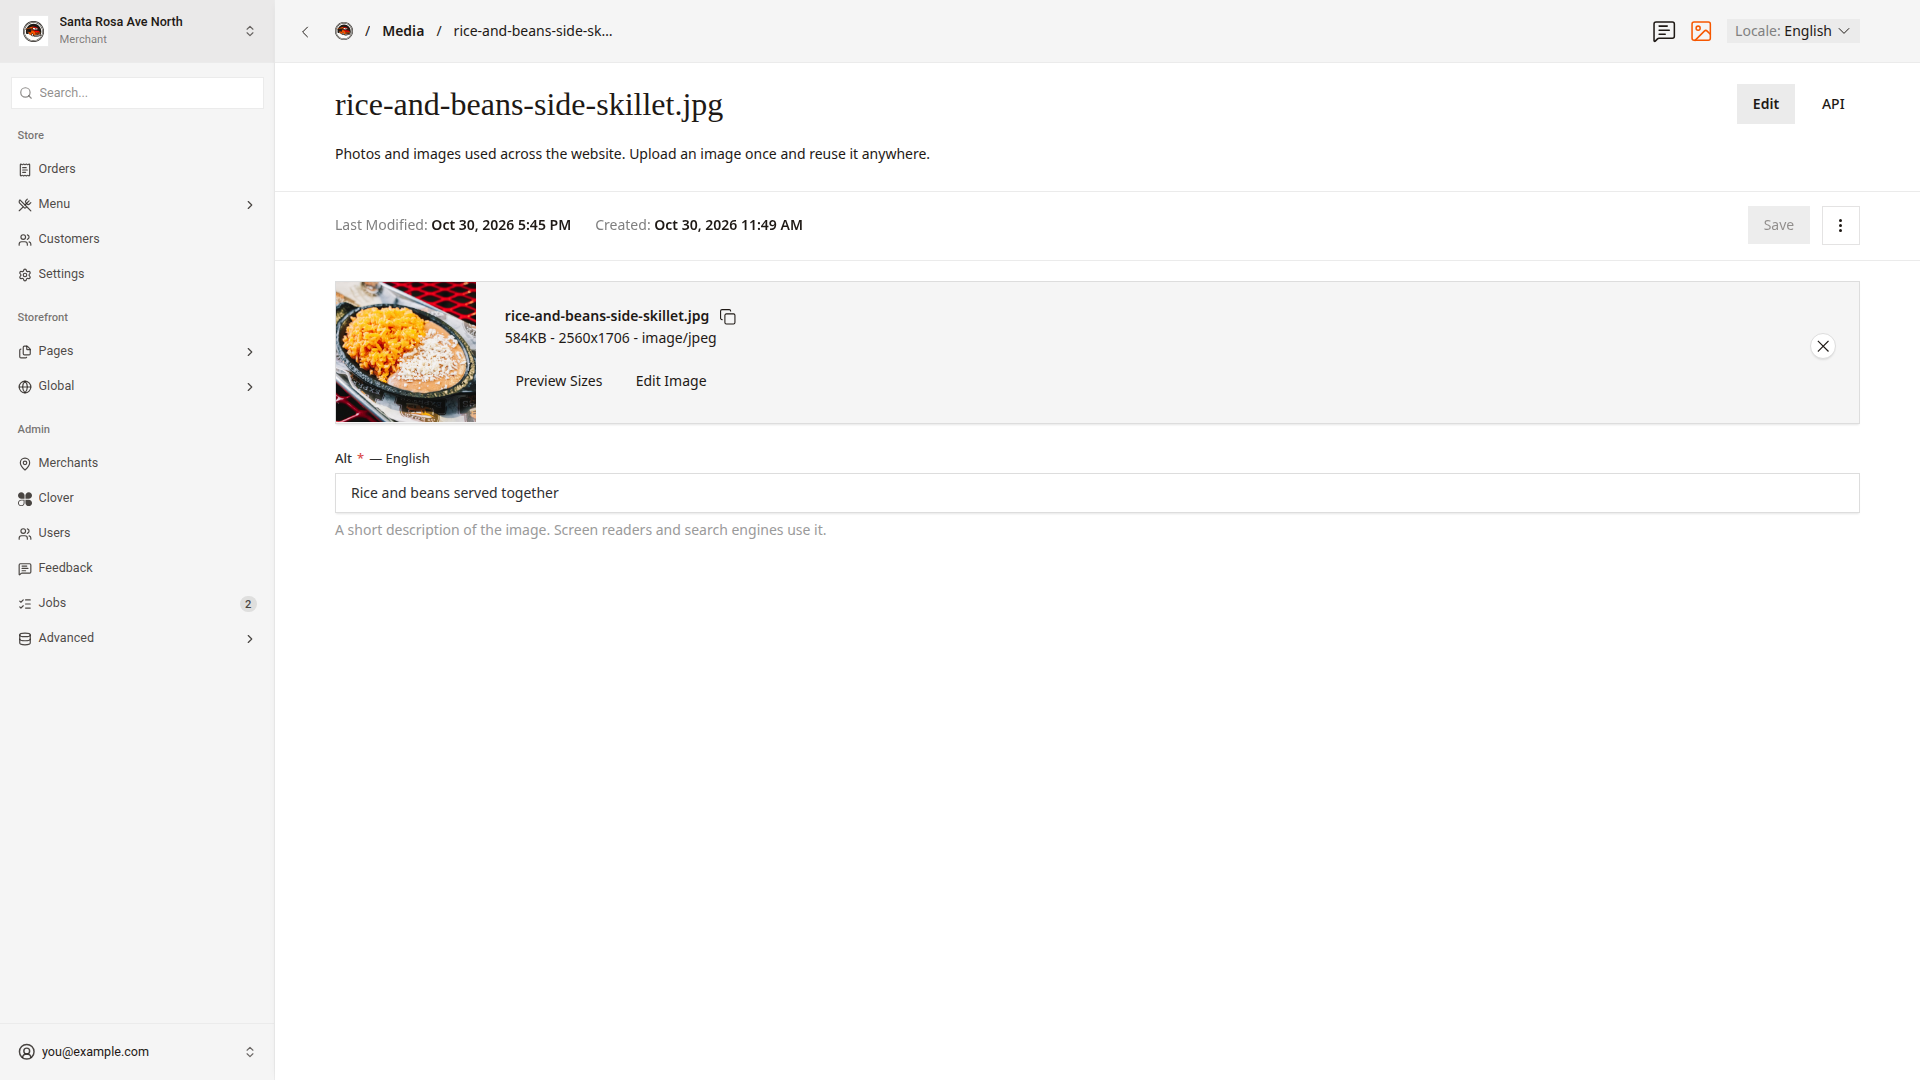
Upload a photo
- Click the picture icon,
Media, in the header. - Click
Create New. - Click
Select a fileand choose the photo. You can also drag the photo onto the page. - Type a one-sentence description in
Alt. The dashboard does not save a photo withoutAlt. - Click
Save.
The dashboard then makes 3 copies of the photo for the website: 400 by 300, 800 by 600, and 1600 pixels wide.
To upload a photo from an item, click Create New under Main Image.
Write alt text
Alt describes the photo for people who cannot see it. Screen readers read Alt out loud, and search engines use it.
- Describe what the photo shows, such as "Super burrito cut in half with rice and beans".
- Write one sentence.
- Do not start with "Photo of" or "Image of".
To add the Spanish alt text, switch Locale to Español (es), type the text in Alt, and click Save.
Set the focal point
The focal point is the part of the photo that must always show when the website crops the photo, such as the food.
- In
Media, open the photo. - Click
Edit Image. - Click
Focal Point. - Drag the focal point onto the food.
- Click
Apply Changes. - Click
Save.
Reuse a photo
- Open the item, item group, or category.
- Under
Main Image, clickChoose from existing. - Click the photo.
- Click
Saveon an item or item group, orPublish changeson a category.
Good to know
- Upload a sharp landscape photo at least 1600 pixels wide. The menu cards use the 800 by 600 copy.
- If you change a photo in
Media, every entry that uses the photo shows the new photo. - Modifiers have no photos.